Drywall screws are a fundamental component of a successful drywall installation. To achieve a sturdy, professional-looking finish, it's essential to use proper installation techniques. Here's a step-by-step guide to help you install drywall screws effectively:
1. Gather Your Tools and Materials:
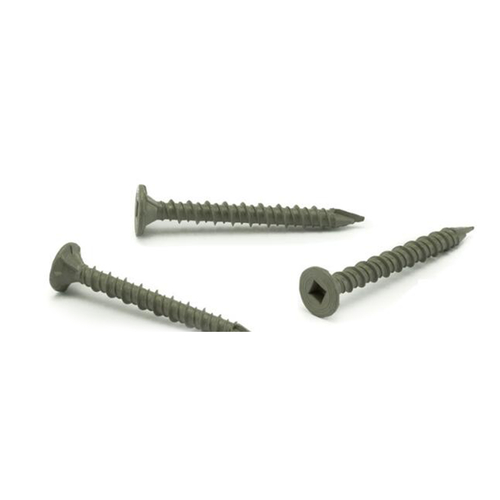
Drywall screws (appropriate size and type)
Screw gun or a drill with a screwdriver bit
Drywall sheets
Measuring tape
Pencil or chalk line
Utility knife
T-square or straightedge
Safety gear (safety glasses and dust mask)
2. Mark Stud Locations:
Use a measuring tape, pencil, or chalk line to mark the centerline of the wall studs or ceiling joists. Typically, studs are spaced 16 inches apart, but check your local building codes for specific requirements.
3. Position the Drywall Sheets:
Start at one corner of the room and lift the drywall sheet onto the wall or ceiling. Ensure the edges align with the centerlines of the studs or joists.
4. Pre-Drill Starter Holes (Optional):
In some cases, especially with hardwood or metal studs, it may be helpful to pre-drill starter holes slightly smaller than the diameter of the screws. This can prevent the drywall from cracking.
5. Begin Screwing:
Start in the center of the sheet and work your way outward. Using a screw gun or drill with a screwdriver bit, drive the first screw into the center of a stud or joist. Sink it just below the surface of the drywall but be careful not to overtighten and break the paper surface.
Continue placing screws along the centerline of the studs or joists, spacing them about 12 inches apart vertically and every 16 inches horizontally. Adjust spacing as needed near the edges of the drywall sheet.
Place screws closer together (about 8 inches apart) along the edges of the drywall to ensure a secure fit.
6. Fasten the Remaining Screws:
Once you've secured the centerline screws, add screws to the edges of the drywall sheet, maintaining proper spacing.
Ensure the screws are flush with the surface, but avoid over-tightening, as this can cause the drywall to dimple or crack.
7. Repeat for Additional Sheets:
Continue installing additional drywall sheets, leaving a small gap (about 1/8 inch) between them to allow for expansion. Use a T-square or straightedge to ensure the edges are aligned correctly.
8. Taping and Mudding:
After all the drywall sheets are installed, apply joint tape and joint compound (mud) to cover the seams between the sheets. Feather the edges for a smooth finish.
9. Final Inspections:
Once the joint compound is dry, sand the seams lightly and inspect the surface for any imperfections. Touch up as needed with additional joint compound.
10. Finish the Surface:
After the joints are smooth, you can proceed with painting, texturing, or finishing the drywall surface as desired.
Remember that mastering drywall installation takes practice. Consistency in screw placement and proper technique will lead to a professional finish. Additionally, always follow local building codes and manufacturer recommendations for specific installation requirements.