Understanding the Role of Drywall Screws in Modern Wall Assemblies
Every finished wall or ceiling depends on a fastener that most people never see once the mud and paint go on. drywall screws are the mechanical link between panel and framing, and the choice of thread, length, head shape, and coating determines whether that connection stays flat, tight, and rust-free for decades or starts telegraphing pops and cracks within a year. Unlike nails, which rely on friction along a smooth shank, a threaded fastener grips the framing member continuously along its length, which is why threaded fasteners became the standard for panel installation once power-driven screws guns made high-volume driving practical.
The category is not a single product. It spans dozens of combinations of thread pitch, point geometry, shank diameter, and surface treatment, each tuned to a specific substrate: wood framing, 20 to 25 gauge light steel framing, heavier structural steel, or cementitious backer board. Selecting the wrong combination does not usually cause an immediate failure. Instead it shows up months later as a stripped hole, a raised screws head pushing through joint compound, or a corroded fastener staining through paint in a damp room.
A fastener that spins freely without pulling the panel tight, or one that strips out the moment it seats, is almost always a thread-to-substrate mismatch rather than a defective screws.
Fine Thread vs Coarse Thread Drywall Screws
Thread pitch is the single most consequential spec on the fastener, and it is also the one most often chosen by habit rather than by substrate. The rule of thumb used by most panel installers is straightforward: coarse thread for wood, fine thread for metal.
Coarse Thread Drywall Screws
Coarse thread screws have wider gaps between threads, which lets each thread bite deeply into softer wood fiber and pull more material into the flanks of the thread. In wood framing this produces higher pull-out resistance for a given embedment depth, and it also clears wood chips out of the pilot hole efficiently, reducing the chance of the fastener binding or splitting the stud near the edge of a panel.
Fine Thread Drywall Screws
Fine thread screws pack more threads per inch into the same shank length. Against sheet steel, the tighter pitch keeps more threads engaged with the thin metal at any given moment, which resists stripping and gives a steadier, more controllable drive. Fine thread is also the correct choice when panels are being attached over an existing layer of drywall, or into engineered wood products where a coarse thread tends to auger through too aggressively and lose its grip.
| Attribute | Coarse Thread | Fine Thread |
|---|---|---|
| Typical substrate | Wood studs and joists | Light-gauge steel, laminated panels |
| Threads per inch (approx) | 8 to 9 | 12 to 16 |
| Driving feel | Fast, aggressive bite | Steadier, more resistance to strip-out |
| Common failure if misapplied | Auger-through, stripped hole in metal | Slow drive, poor grip in soft wood |
Self-drilling drywall screws borrow the fine thread geometry but add a machined point that eliminates the pre-drilling step entirely on light-gauge steel, which is discussed in more detail in the steel framing section below.
Bugle Head Design and Gypsum Board Installation Fasteners
The head shape on a panel screws is not cosmetic. A bugle head has a smooth, concave transition from the shank into a wide flat bearing surface, and that curve is what allows the head to dimple the paper face of gypsum board without tearing it, seating just below the surface so it can be hidden under two coats of compound.
Standard bugle head fasteners are the baseline for gypsum board installation fasteners on interior walls and ceilings. Modified versions exist for specific board types:
- Trim head: a narrower head profile used where a slightly smaller countersink footprint is preferred, such as around fixtures or trim returns.
- Wafer head: a broader, flatter head used on cement and fiber-cement backer board, where a wider bearing surface spreads clamping load across a denser, more brittle material.
- Pan head: occasionally specified for attaching metal trim accessories rather than panel itself.
Metal Stud Drywall Screws and Steel Stud Drywall Screws: Point Types Explained
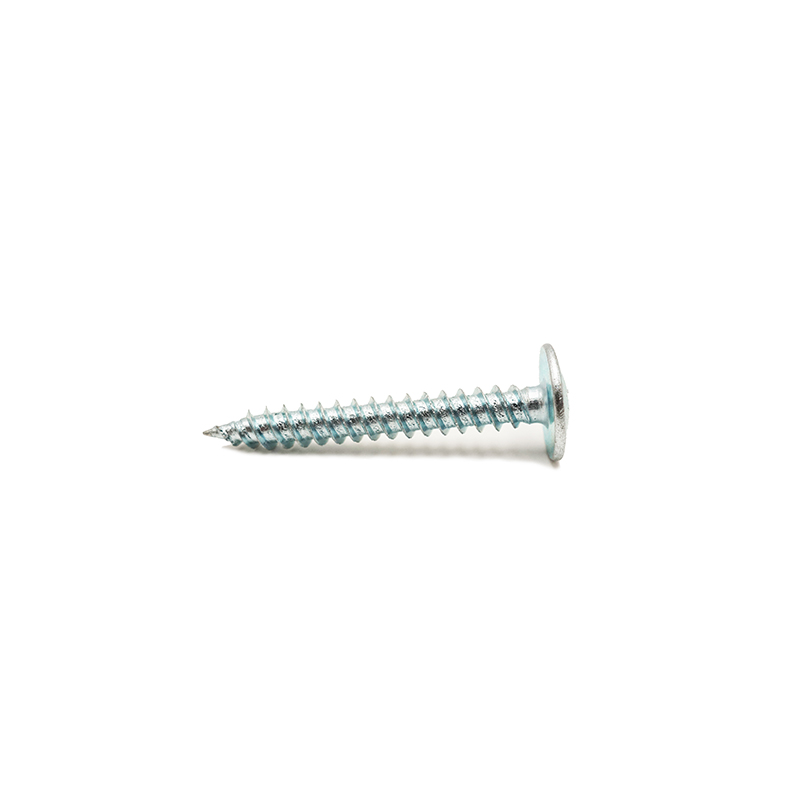
Framing in commercial interiors, and increasingly in residential construction, is built from light-gauge steel rather than wood. Metal stud drywall screws and steel stud drywall screws are engineered around one variable that matters more than any other: the point geometry, because it determines whether the fastener can start and cut its own hole through steel without a pilot hole.
Self-Drilling Points
Self-drilling drywall screws carry a small drill-flute tip that machines away metal ahead of the threads, similar in principle to a twist drill bit. This point style is matched to steel thickness:
| Point Style | Steel Gauge Range | Typical Use |
|---|---|---|
| Sharp piercing point | 25 to 20 gauge (thin track and stud) | Standard interior partition framing |
| Self-drilling point, short flute | 20 to 18 gauge | Heavier gauge stud, doubled track |
| Self-drilling point, long flute | 16 gauge and heavier structural steel | Load-bearing or structural steel framing |
Using a piercing-point screws against steel heavier than it was designed for typically results in the point walking, overheating, or snapping off before it penetrates, while using a long-flute self-drilling point on thin track is unnecessary and slower to seat than a sharp piercing point.
Driving Practice
A screws gun with an adjustable clutch, not a general-purpose drill, is the right tool for steel framing work. The clutch should be set so the driver disengages the instant the head seats flush, since continued rotation after seating strips the thread engagement in thin steel and leaves a fastener that will back out under vibration or building movement.
Cement Board Screws and Cementitious Board Screw Requirements
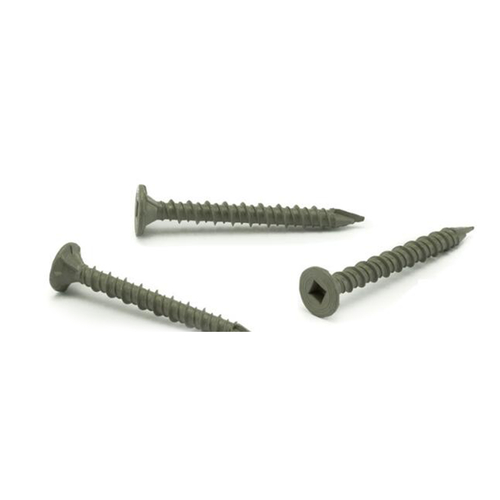
Cement, fiber-cement, and other cementitious tile backer boards behave nothing like gypsum panel. The material is dense, abrasive, and brittle at the surface, which means a standard drywall screws will often strip out, crack the board face, or corrode quickly in the damp environments where backer board is typically installed. cement board screws are purpose-built to address all three issues at once.
What Separates a Cementitious Board Screw From a Standard Drywall Screw
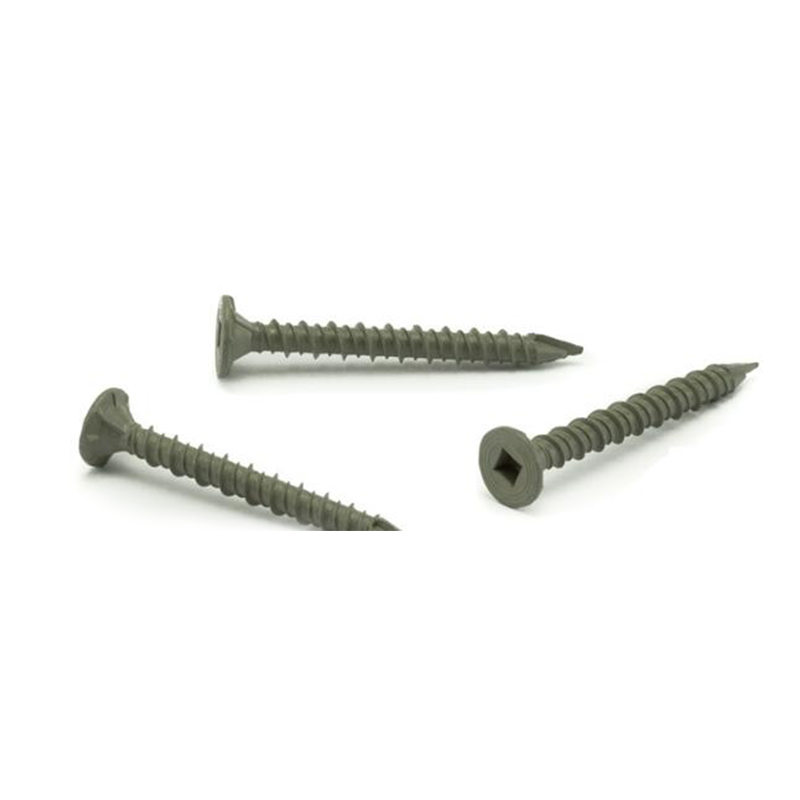
- Coarser, deeper thread that cuts into cement composite without stripping the surrounding material.
- A more aggressive self-drilling or reinforced point capable of penetrating cured cement board without pre-drilling in most residential thicknesses.
- A wafer or modified truss head that seats without punching through the dense board face.
- A corrosion-resistant coating, since backer board is almost always installed in wet areas such as showers, tub surrounds, and kitchen backsplashes.
Coating choice matters as much as thread geometry in wet-area work. A fastener rated for dry interior use that is installed behind tile in a shower enclosure is one of the more common causes of hidden corrosion and eventual tile failure years later.
Coating Reference
| Coating | Typical Environment | Relative Corrosion Resistance |
|---|---|---|
| Phosphate or black oxide | Dry interior gypsum work | Basic, not suited to moisture |
| Zinc plated | Light moisture exposure | Moderate |
| Ceramic or polymer coated | Wet-area backer board, tile surrounds | High |
Drywall Screw Size for 1/2 Drywall: A Sizing Reference
Length selection follows one governing principle: the fastener needs to penetrate solid framing or blocking by a minimum margin once it has passed through the full thickness of the panel and any layers behind it. For a single layer of standard half-inch panel over wood framing, that generally means a screws long enough to clear the panel and still bite roughly five-eighths to three-quarters of an inch into the stud or joist.
| Panel Configuration | Substrate | Typical Screw Length |
|---|---|---|
| 1/2 inch single layer | Wood framing | 1-1/4 inch coarse thread |
| 1/2 inch single layer | Steel framing | 1 inch fine thread, self-drilling |
| 5/8 inch single layer | Wood framing | 1-5/8 inch coarse thread |
| 1/2 inch over existing 1/2 inch layer | Wood framing | 2 inch coarse thread |
| 1/2 inch cement backer board | Wood or steel framing | 1-1/4 to 1-5/8 inch cement board screws |
These lengths are general reference points rather than fixed rules, since local building codes and specific manufacturer panel specifications can set exact minimum embedment. When a project spans mixed framing, such as steel top track over wood blocking, the safest approach is to size the screws for the deepest required embedment and confirm it does not bottom out or protrude through the far side of thin steel track.
Installation Best Practices and Fastening Patterns
Correct spacing and depth control matter as much as choosing the right screws. A well-installed panel distributes fastener load evenly and avoids both under-fastening, which allows panel movement and eventual cracking at joints, and over-driving, which tears the paper face and leaves the screws with almost no holding power.
General Spacing Guidance
- Field of the panel, fastened to intermediate framing: approximately 12 inches on center for ceilings and 16 inches on center for walls, adjusted to match stud spacing.
- Panel edges and butt joints: tighter spacing, commonly around 8 inches on center, since edges see more stress from panel movement.
- Fasteners placed no closer than about 3/8 inch from a cut panel edge to avoid crumbling the gypsum core.
Depth Control
The head should seat in a shallow dimple that just breaks the paper surface without tearing it or crushing the gypsum core underneath. A screws gun with a depth-sensitive nose piece is the standard tool for this, since it disengages the clutch at a preset depth rather than relying on the installer's feel alone.
Common Mistakes When Screwing Hardie Board and Cementitious Backer Board
Fiber-cement siding and cement backer board installations fail for predictable, repeatable reasons, most of which trace back to fastener selection or driving technique rather than the board itself.
Mistakes to Avoid
- Using an uncoated or lightly coated fastener behind tile in a wet area, which corrodes and eventually stains through grout lines.
- Driving the screws head below the fiber-cement surface, which crushes the dense outer layer and reduces holding strength significantly compared to a flush-seated fastener.
- Substituting a standard gypsum bugle head screws for cement board work, which often strips out because the thread was never designed to bite into cementitious material.
- Skipping a pilot hole on thicker fiber-cement siding boards where the manufacturer specifies pre-drilling, which can split the board near the edge.
- Spacing fasteners too far apart along the perimeter, leaving edges free to flex and eventually crack tile or telegraph joints through a finished surface.
Before fastening a full sheet of cement backer board, drive a single test screws near a cut-off scrap of the same board and same framing. If the head crushes the surface or the point struggles to bite, adjust screws length, point type, or driver torque before continuing across the whole sheet.
Frequently Asked Questions
Q1: What is the real difference between fine thread and coarse thread drywall screws?
Coarse thread screws have wider spacing between threads and are built for wood framing, where they bite deeply into soft fiber and clear material efficiently. Fine thread screws have tighter thread spacing and are built for light-gauge steel framing, where more threads staying engaged at once resists stripping the thin metal.
Q2: Can a self-drilling drywall screws be used on both wood and steel framing?
A self-drilling point is designed around cutting through steel and is not necessary for wood, where a sharp coarse-thread point already starts and drives efficiently. Using a self-drilling screws in wood generally works but offers no advantage and can be slower to drive than a standard coarse thread point.
Q3: Do cement board screws work as a substitute for standard drywall screws?
They are not interchangeable in either direction. Cement board screws use a coarser, more aggressive thread and stronger point built for dense cementitious material, and on soft gypsum board that thread can over-cut and reduce holding power. Standard drywall screws, in turn, tend to strip out in cement board because the thread was never designed for that density.
Q4: What drywall screws size is correct for 1/2 inch drywall over wood studs?
A 1-1/4 inch coarse thread screws is the common choice for a single layer of 1/2 inch panel over wood framing, since it clears the panel thickness and still achieves solid embedment into the stud. Steel framing typically uses a slightly shorter, fine thread, self-drilling screws instead.
Q5: Why does a screws head sometimes push back through the joint compound after installation?
This is usually caused by under-driving, where the head was not seated flush and fully engaged, or by using a fastener that is too short to reach solid framing. Panel movement over time then works the head back toward the surface, a defect commonly called popping.
Q6: Is pre-drilling required before driving cement board screws?
Most cement board screws with a reinforced self-drilling point can penetrate standard backer board thicknesses directly. Thicker fiber-cement siding boards, however, often specify a pilot hole near edges and corners to prevent splitting, so checking the board manufacturer instructions for edge distance is worthwhile before driving without one.