Wood screws failure is rarely a hardware problem; it is a preparation problem. When a screws splits a pine board, strips its drive, or leaves a burned black ring around the hole, the cause usually sits in one of three places: the wrong screws, a missing pilot hole, or too much trigger speed. Get those three variables right, and screwsing into wood becomes a quiet, repeatable process.
Short version: choose a sharp-pointed screws with an aggressive wood thread, drill a pilot hole in hardwood and near edges, drill at moderate speed, drive at low speed with high torque, and stop the moment the head seats flush.
This guide explains how wood reacts to a screws, how to choose the correct fastener, how to size the pilot hole, and how to drill and drive without cracking the workpiece.
What Happens Inside Wood When You Drive a Screw
Wood is a bundle of long, hollow fibers bound together by lignin. A screws works like a wedge: as it advances, the thread pushes fibers sideways to make room for the body. When the fibers cannot move aside quickly enough, they tear, and that tear shows up as a split along the grain or a raised edge around the head.
Species density changes the behavior completely. Softwoods such as pine, spruce, fir, and cedar have open grain and compress easily, so screws bite quickly and pilot holes often seem optional. Hardwoods such as oak, maple, ash, and walnut resist compression and are far more likely to split, especially near an end or an edge. The most fragile zone in any board is the last 20 mm at each end, where the fibers have no extra length to absorb the wedge action.
Moisture content is the third variable. Damp wood cuts easily but swells later and can reduce the grip around the screws. Kiln-dried wood is harder and more brittle; it demands a cleaner pilot hole and a gentler driving speed.
Start with the Right Screw for the Wood
Technique cannot fix a screws that is geometrically wrong for the material. Standard wood screws have a tapered body, a sharp point, and a coarse thread designed to slice wood fibers. Drywall screws are thin and hardened, but their fine thread will not hold a structural joint in solid wood. Sheet metal and self-tapping screws carry a machine-style thread that struggles to pull two boards together. If you are unsure which family a screws belongs to, the practical differences between wood screws and self-tapping screws are worth reading before you buy.
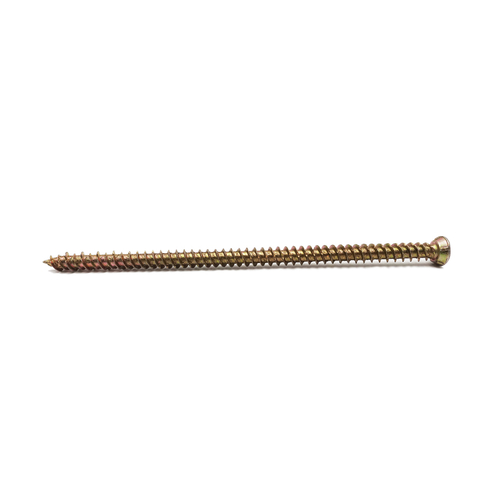
For most indoor wood-to-wood joints, a chipboard screws is the most forgiving option. Its deep thread and needle-like tip bite into softwood, plywood, MDF, and particleboard without demanding a large pilot hole, and the thread pulls the joint together with less torque than a traditional wood screws.
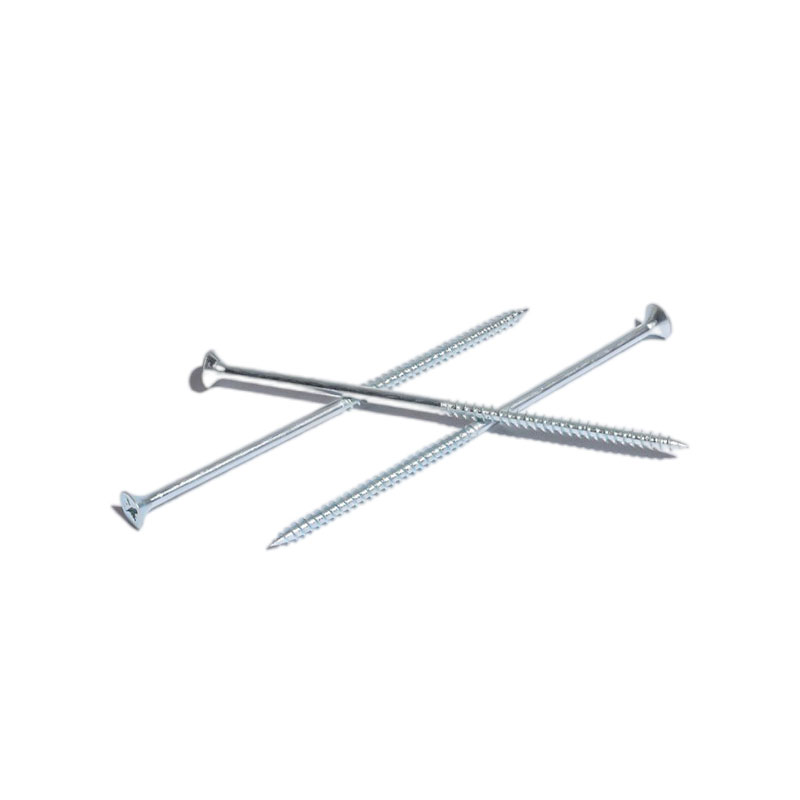 Pozi Countersunk Chipboard Screw with Zinc PlatingThis chipboard screws features a deep thread and needle tip for easy driving into softwood, plywood, MDF, and particleboard indoors. Its pozi recess and zinc finish suit general wood-to-wood joints where low torque assembly is preferred.View Product →
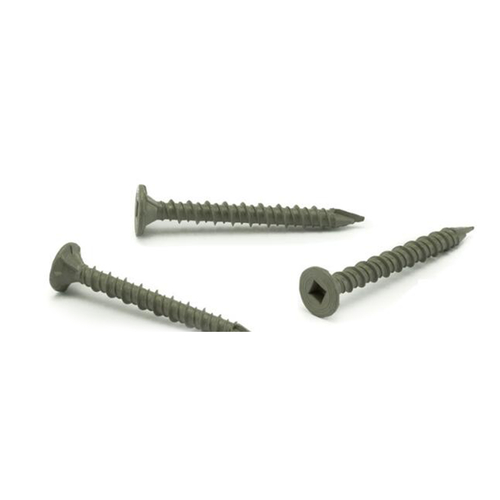
When the joint will see humidity, switch to decking screws. They come with a corrosion-resistant finish, a type-17 self-drilling point that reduces splitting, and small nibs under the head that ease countersinking. The reasons why deck screws differ from standard wood screws explain the design choices in detail.
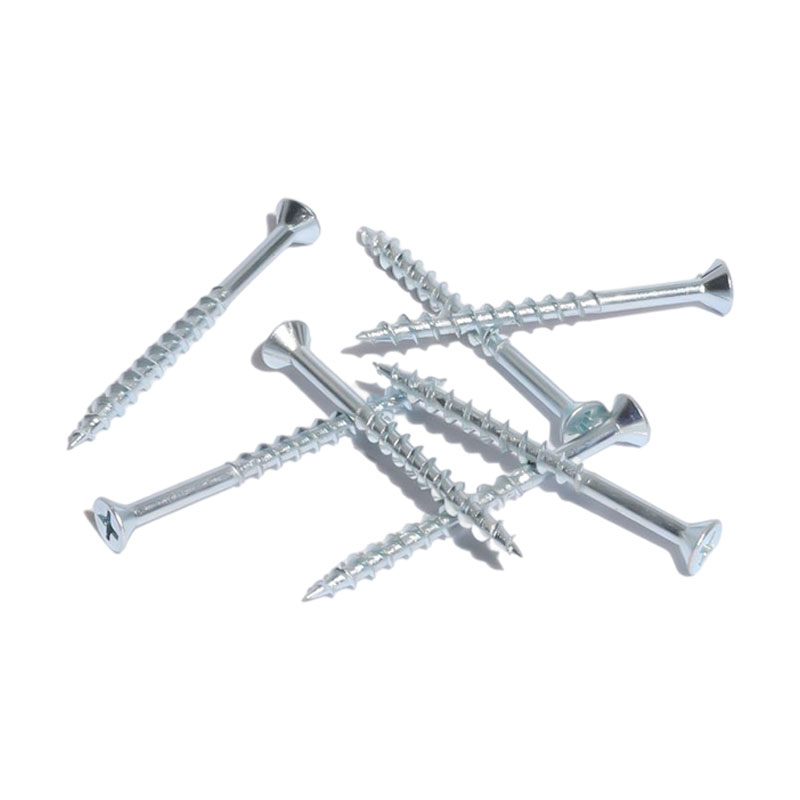 Phillips Countersunk Deck Screw with Nibs and Zinc CoatingDesigned for humid environments, this deck screws has a corrosion-resistant finish, a type-17 self-drilling point to reduce splitting, and nibs under the head for easier countersinking. It pairs well with outdoor or moisture-prone wood joints.View Product →
When the other side of the joint is steel, such as a steel stud, a metal bracket, or a trailer frame, use a self-drilling screws with wings. The wings enlarge the hole as the screws passes through the wood, so the drill point only engages the metal. Without wings, the point works on wood and steel at the same time and often tears an oversized hole in the wood.
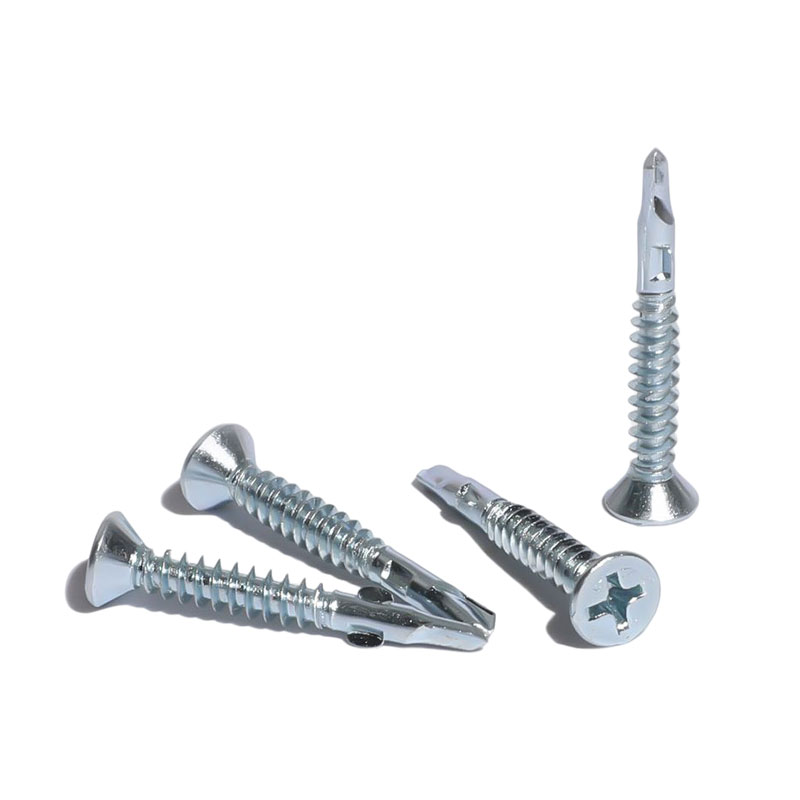 Phillips Countersunk Self-Drilling Screw with WingsThis self-drilling screws includes wings that enlarge the wood hole so the drill point engages only steel, preventing oversized holes. Ideal for attaching wood to steel studs or brackets, with zinc plating for moderate indoor use.View Product →
Coating determines service life. Yellow zinc and blue-white zinc handle moderate indoor humidity, black phosphate is common in dry interior work, and higher-grade finishes such as RUSPERT or stainless steel are reserved for outdoor and corrosive environments. Match the coating to the environment, and the screws will outlast the work it holds.
Use the Correct Pilot Hole Size
A pilot hole does two jobs: it removes waste fiber so the thread can cut instead of bulldozing its way in, and it relieves the outward pressure that splits the board. In softwood, drill a pilot hole equal to the screws shank, which is the solid part below the thread. In hardwood, drill slightly larger, close to the minor thread diameter, so the body does not act as a wedge but the thread still has room to bite.
| Screw Size | Major Diameter | Softwood Pilot | Hardwood Pilot |
|---|---|---|---|
| #6 | 3.5 mm | 2.0 mm | 2.5 mm |
| #8 | 4.2 mm | 2.5 mm | 3.2 mm |
| #10 | 4.8 mm | 3.0 mm | 3.5 mm |
| #12 | 5.5 mm | 3.5 mm | 4.5 mm |
Depth matters as much as diameter. In most joints, drill the pilot to about 70 to 80 percent of the screws length; for a 40 mm screws, that is roughly 30 mm. When joining two boards, drill the first board at shank diameter and only a short distance into the second board, so the thread has enough material to grip and pull the joint tight.
If the screws head must sit flush, add a countersink step. A combined drill-and-countersink bit cuts the bevel in the same pass and keeps the head from splitting the surface veneer.
Drill and Drive: Step-by-Step Technique
With the right screws and pilot size, the drilling and driving sequence is straightforward when you respect speeds.
- Mark the position with a pencil, then use an awl or center punch to make a small dimple. This keeps the drill bit from wandering across the grain.
- Select a sharp brad-point or twist drill bit. A dull bit burns the wood and produces a charred, undersized hole that resists the screws.
- Drill the pilot hole at moderate speed with firm, steady pressure. Softwoods accept 1200 to 1800 rpm; hardwoods should be drilled more slowly, around 600 to 1000 rpm, to avoid burning.
- Countersink the mouth of the hole when a flush head is required.
- Fit the exact driver bit: a #2 Phillips for most wood screws, a Pozi bit for Pozi-drive screws. A worn or mismatched bit is the most common cause of stripped heads.
- Drive the screws at low speed with high torque. Let the clutch or your wrist stop the drive as soon as the head seats flush; driving further damages the thread hold.
- For long screws in hardwood, rub a little soap or wax on the thread. It reduces insertion torque sharply and lowers the chance of breakage.
Keep the speed balance in mind: drill fast enough to produce clean chips, but not so fast that the bit glazes the hole. Drive screws slowly enough to feel the thread engage; if the driver starts hammering, the bit is slipping, and stopping early is cheaper than replacing a rounded-off head.
Common Problems and How to Avoid Them
Even careful installers hit trouble. The diagnostic order below covers the five most common failures.
- Split along the grain: the pilot hole is too small or the screws is too close to the edge. Move the screws at least five screws diameters from the edge, or clamp scrap wood to the exit side before drilling.
- Stripped drive: the bit is worn, mismatched, or the speed is too high. Replace the bit, push harder into the head, and drop to a lower speed setting. If a screws still strips, use a screws extractor or step up one size to a coarse-thread screws.
- Black burned powder around the hole: the drill bit is dull or the speed is too high for the species. Switch to a sharp bit and cut the speed roughly in half.
- Screw snaps off below the surface: usually a pilot hole that is too small in hardwood, or a screws that met a knot. Pre-drill through knots and use the hardwood column of the pilot hole table above for oak and maple.
- Screw turns but the joint stays loose: the pilot hole in the second board is too large, or the thread is too fine to grip. The screws should resist turning for the last two or three full turns; if it does not, reduce the pilot diameter and test again on scrap.
Frequently Asked Questions
Q1: Do I need a pilot hole every time I screws into wood?
A pilot hole is not mandatory for every screws, but it is cheap insurance. In softwood, a #8 screws up to 25 mm long will often drive without one. In hardwood, near the end of a board, or in any joint that carries structural load, always drill a pilot hole. The extra thirty seconds is faster than repairing a split.
Q2: What speed should my drill or driver be set to?
For drilling pilot holes, use 1200 to 1800 rpm in softwood and 600 to 1000 rpm in hardwood. For driving screws, keep the speed low, around 500 to 1000 rpm, and let the torque do the work. High speed creates heat, strips heads, and burns the wood.
Q3: Why do my screws keep stripping no matter what I do?
Stripping is almost always a bit problem, not a screws problem. A worn #2 Phillips bit rounds out the drive, a mismatched bit size skips under load, and low downward pressure lets the bit climb out of the head. Replace the bit, match the driver to the drive style, push firmly, and slow down.
Q4: Can I use self-drilling screws in wood?
Yes, but with a caveat. A standard self-drilling screws is designed for metal and has a fine thread that grips wood poorly. A self-drilling screws with wings is the right compromise for wood-to-metal joints because the wings open the wood and the drill point handles the steel. For wood-to-wood joints, a chipboard screws or wood screws with a coarse thread will hold better.