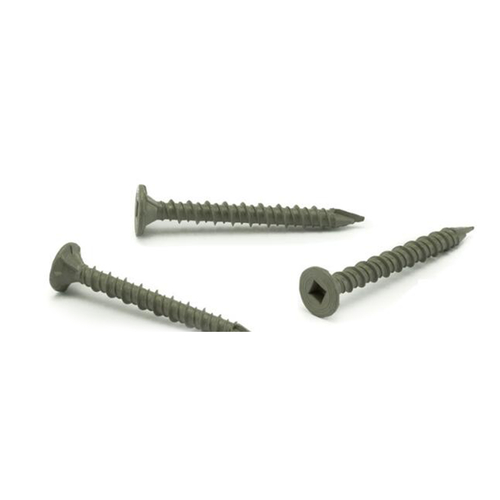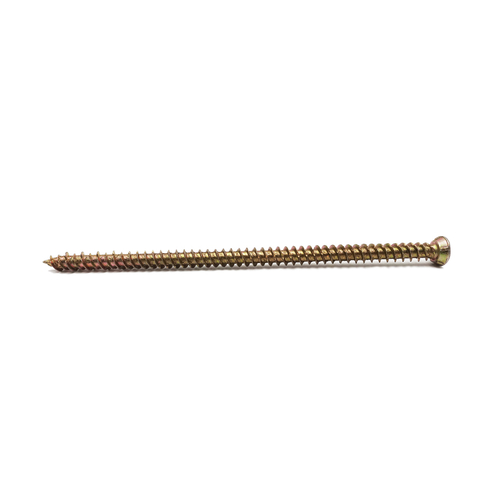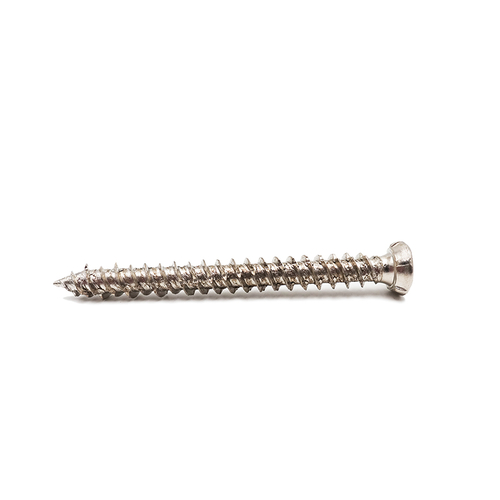
You have probably seen the failure in a workshop or on a production line: a 4 mm chipboard screw driven 6 mm from the edge of a 16 mm particleboard panel, followed by a hairline crack and a lifted section of the board face. The screw holds for an hour, then the joint loosens. The cause is not the screw type, the coating, or the driver bit; it is edge distance.
Edge distance is the distance between the center of the screw and the edge of the workpiece. For chipboard, it is among the most ignored parameters in furniture work, and it is the first thing to check when panels split.
Working rule: keep the screw center at least 2 times the screw diameter away from the edge, and never less than 10 mm for screws up to 4 mm diameter. Without a pilot hole, increase those values by 30 to 50 percent.
This guide explains why edge distance matters, gives recommended values for common chipboard screw sizes, and shows how pilot holes and driving technique keep joints intact.
Why Chipboard Screw Edge Distance Matters
When a chipboard screw is driven, the thread displaces material radially as it cuts. Near a free edge, there is not enough material on one side to absorb that displacement, so the board reacts by cracking. The denser the board, the less warning you get before the split appears.
Three specific problems occur when the edge distance is too small:
- Splitting and delamination. The panel edge cracks outward, damaging the laminate or veneer and weakening the corner.
- Reduced withdrawal resistance. A screw placed too close to the edge loses thread engagement on one side, so pull-out force drops sharply even if the panel does not split.
- Rework and scrap. In cabinet production, a cracked panel is normally scrapped. At batch scale, a small edge-distance error becomes a measurable cost.
Chipboard has no grain direction like solid wood, so the same minimum edge distance applies to all four sides of a panel.
Recommended Chipboard Screw Edge Distance by Screw Size
Measure from the center of the screw to the nearest edge of the panel. Acceptable values depend on screw diameter, board thickness, and whether a pilot hole is drilled. The table below summarizes commonly used minimum values for 16 to 18 mm particleboard.
| Screw diameter | Board thickness | With pilot hole | Without pilot hole | Typical use |
|---|---|---|---|---|
| 3.5 mm | 15–16 mm | 8–10 mm | 12–15 mm | Cabinet doors, light drawers |
| 4.0 mm | 16–18 mm | 10–12 mm | 15–18 mm | General furniture joints |
| 4.5 mm | 18–22 mm | 12–15 mm | 18–20 mm | Shelving brackets, heavy drawers |
| 5.0 mm | 22 mm and above | 15 mm minimum | 20 mm minimum | Base frames, outdoor decking |
If the board has a decorative laminate or melamine finish, add 2 to 3 mm to the recommended value. The brittle surface layer needs a buffer to prevent the decorative paper from lifting around the screw head.
For a 4.0 mm screw in a 16 mm board, the practical answer is usually 10 to 12 mm with a pilot hole and 15 to 18 mm without one. For panels where head flushness matters, the standard choice is a zinc-plated Pozi CSK head chipboard screw sized to the board thickness, with the head seated just below the surface.
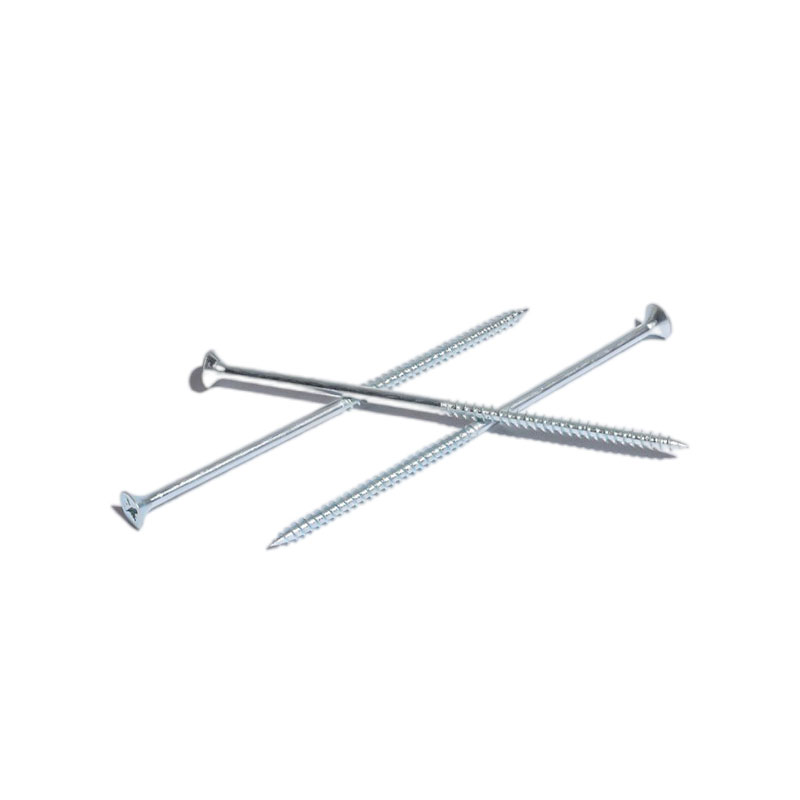 Pozi Countersunk Head Chipboard Screw, Zinc PlatedThis screw suits flush-seating in melamine-faced particleboard. Its double countersunk head and Pozi drive help control depth and reduce cracking when set just below the panel surface.View Product →
The same edge-distance logic applies whether the screw goes into a narrow frame member or the face of a shelving panel. The board thickness limits the screw length you can choose, while the edge distance limits where you can place the hole.
Factors That Change the Safe Edge Distance
The values above are safe defaults. Real panels vary, and three factors commonly change how close a screw can be placed. The material categories you will meet most often are PBMDFPlywoodHardwood.
Board Type and Density
Standard particleboard crumbles at the edge when stressed, so it needs the full recommended distance. MDF has a denser, more homogeneous structure and rarely splits in a straight line, but its edge can crush under high clamping force. Plywood is the most forgiving because cross-laminated veneers stop cracks from running. Solid hardwood has grain direction and typically needs pilot holes plus an edge distance of at least 2.5 to 3 times the screw diameter to avoid splitting along the grain.
Screw Thread Design
Threads that are sharp and deep cut cleanly but displace more material near the edge. A screw with a smaller thread angle reduces radial force but also reduces grip in low-density board. Double-start threads, common on modern chipboard screws, seat faster and distribute load more evenly during insertion. If you want to understand how thread geometry influences holding performance, the chipboard screw thread design guide explains the trade-offs in detail.
Pilot Holes
A pilot hole is the most effective way to reduce the edge distance needed. For particleboard, a pilot hole diameter of about 75 percent of the screw major diameter removes enough material to reduce the wedge effect while still letting the threads bite. For a 4.0 mm screw, use a 3 mm drill bit; for a 3.5 mm screw, use a 2.5 mm bit.
Driving Angle and Technique
Screws driven at an angle concentrate force on one side of the hole and increase splitting risk. Use a depth stop where possible, keep the driver square to the surface, and set the clutch so the screw seats without spinning. Spinning creates heat and softens the material around the thread.
Edge Distance in Common Applications
The right edge distance depends on the job, not just the screw size. Here is how the guideline plays out in typical uses.
Furniture and Cabinet Assembly
Most cabinet panels are 16 to 18 mm melamine-faced particleboard. Use the middle of the table above: 10 to 12 mm for a 4 mm screw with pilot hole, and always drill pilot holes before assembling gloss or textured panels. Where the head must seat slightly below the surface for a plug or cover, a Pozi double CSK head chipboard screw gives a controlled countersink and reduces the chance of cracking the melamine layer.
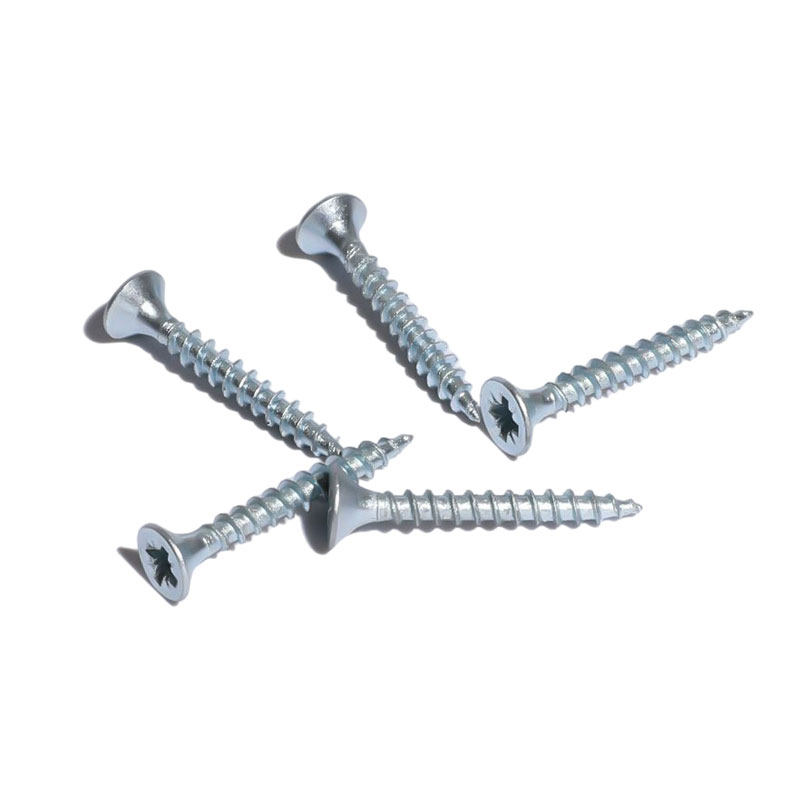 Pozi Double Countersunk Head Chipboard ScrewDesigned for panels where the head must sit below the surface for plugging or covering, this double CSK screw provides controlled countersinking and helps prevent melamine chipping.View Product →
When joining two panels at a corner, keep screws away from the adjacent edge as well. A screw placed 10 mm from one edge but only 4 mm from the next will still split the corner.
Decking and Outdoor Panels
Deck boards and outdoor timber panels expand and contract with moisture, so edge distance must be larger. Use a minimum of 20 mm for 4.5 mm and 5 mm screws in decking, and pre-drill even with self-tapping types. The zinc-plated CSK deck screw with nibs works well here: the nibs act as a countersink and reduce surface splintering when the head is driven into the wood.
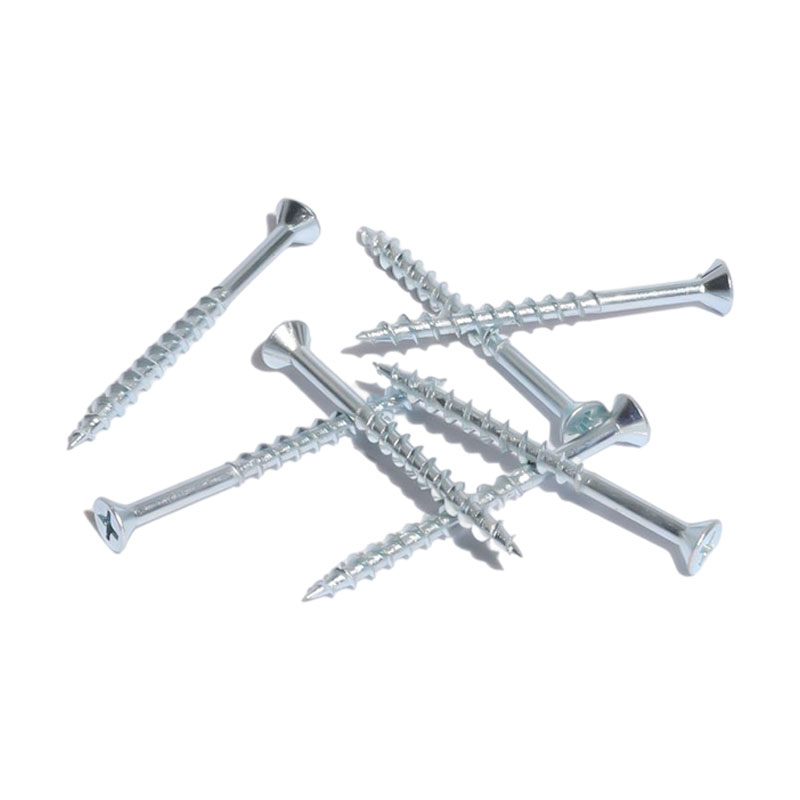 CSK Phillips Head Deck Screw with Nibs, Zinc PlatedRecommended for outdoor timber and decking, this screw's nibs act as an integrated countersink to reduce splintering while driving, supporting larger edge distances in moisture-prone panels.View Product →
Edge-to-Edge Butt Joints
When fixing one panel face onto another panel edge, stagger the screws instead of lining them up in a single straight row. Staggering spreads the load across the edge and lowers the chance that one weak spot cracks and propagates along the panel boundary.
Practical Steps to Prevent Edge Splitting
Follow these steps when precise positioning matters on a chipboard assembly.
- Mark the screw centers on the panel face, using the required minimum edge distance as your layout constraint before clamping or drilling.
- Drill pilot holes at about 75 percent of the screw diameter for particleboard, or 2.5 to 3.0 mm for a 4 mm screw.
- Countersink if needed. CSK-head chipboard screws seat themselves, but for hard or laminated panels use a dedicated countersink step so the head does not crush the surface.
- Drive straight and slowly at medium speed, letting the thread pull the screw in. Do not push hard; increased axial force is usually a sign of a poor pilot hole or a worn bit.
- Stop at the right depth. Set the clutch or depth stop so the head is flush or just below flush. Over-torquing near an edge is a common cause of a delayed split that appears minutes after driving.
If a split appears, remove the screw, fill the area, and relocate the joint. Do not drive a second screw into the same crack; it will widen.
Chipboard Screw Edge Distance FAQ
Q1: What is the minimum edge distance for a 4 mm chipboard screw in particleboard?
With a pilot hole, keep the screw center at least 10 to 12 mm from the panel edge. Without a pilot hole, increase this to 15 mm or more. These values apply to standard 16 to 18 mm particleboard panels.
Q2: Does drilling a pilot hole allow a smaller edge distance?
Yes. A pilot hole removes material that the thread would otherwise displace, reducing radial stress. In practice, a correct pilot hole can reduce the required edge distance by about 30 percent compared with driving directly into the surface.
Q3: Is the edge distance different for MDF and chipboard?
MDF rarely splits along a straight crack, so it can tolerate a slightly smaller edge distance, but its edges crush more easily under head seating pressure. Keep a minimum of 8 to 10 mm for a 4 mm screw in MDF and always use pilot holes.
Q4: Do deck screws need a larger edge distance between the screw and the board edge?
Outdoors, yes. Timber expands and contracts with moisture, so use at least 20 mm from the screw center to the board edge for 4.5 mm and 5 mm deck screws, and pre-drill to prevent splitting at the fixing point.
Edge distance is a small measurement that decides whether a chipboard joint lasts or fails. Keep the screw center two screw diameters away from the edge, drill a pilot hole when you are near the limit, drive straight, and let the threads do the work. Applied consistently, these rules reduce cracked panels, scrapped parts, and callbacks on furniture and fit-out projects.